Friday, March 30, 2012

Granola Bars

Today I woke up and got started on my normal routine. Brew coffee (as fast as I can), start up my computer, throw together some odd mixture of oatmeal (and a lot of things to make it more like dessert), sit down to enjoy breakfast at my computer. I usually scan over FB (my newspaper as Robert calls it), Pinterest and then always weather.com. I know that doesn't sound all that exciting, but knowing the weather for the day helps me plan out my day. Today all I can say it that weather.com was wrong. Very wrong. It called for thunder storms at 8pm. So I was a little surprised when I was several miles from my car and it started to downpour...at 5pm. At first I was a little mad at the weather prediction, but the rain really felt great. I continued my run and embraced the rain for 10 very wet miles. During my run I couldn't help but think how we all complain about working out, but it is really such a privilege. We should not say we HAVE to work out, but rather we GET to workout. Some people don't have the option to go for a jog whenever they please. Whether it be for health reasons, or because they live in a country that doesn't allow them to practice free will. So next time you don't want to get out there and sweat a little, just remember that it's a privilege to be able to workout and your body needs it. Why deny yourself something so great to boost your energy, mood and health!

Something else that you should not deny yourself is this granola bar recipe. If you have been around me in the past 2 weeks I know you have heard me rave about it. Our household of two has already consumed 3 batches of these! DELISH! I was happy to come home and find some still leftover from our latest batch after my run today. I snacked on these as I packed Robert a couple to take to work tonight. They are very filling and seem to last a pretty good while! I know I have been on a granola/granola bar kick lately, but it's just the old lady in me coming out. These are great to have for a snack, quick breakfast, or even dessert! They honestly taste like cookie bars. Here is the recipe, I hope you will try them!

Granola Bars

Recipe adapted from Allrecipes.com

Ingredients

  • 2 cups rolled oats
  • 3/4 cup packed brown sugar
  • 1/2 cup wheat germ
  • 3/4 teaspoon ground cinnamon
  • 1 cup all-purpose flour
  • 1/2 cup craisins 
  • 3/4 teaspoon salt
  • 1/2 cup honey
  • 1 egg, beaten
  • 1/2 cup vegetable oil
  • 2 teaspoons vanilla extract

Directions

  1. Preheat the oven to 350 degrees F (175 degrees C). Generously grease a 9x13 inch baking pan.
  2. In a large bowl, mix together the oats, brown sugar, wheat germ, cinnamon, flour, craisins and salt. Make a well in the center, and pour in the honey, egg, oil and vanilla. Mix well using your hands. Pat the mixture evenly into the prepared pan.
  3. Bake for 30 to 35 minutes (mine were definitely closer to 30 minutes) in the preheated oven, until the bars begin to turn golden at the edges. Cool for 5 minutes, then cut into bars while still warm. Do not allow the bars to cool completely before cutting, or they will be too hard to cut.
*I made several adjustments which included adding walnuts and dark chocolate chips. I also made a "healthier" batch in which I used 1/2 cup brown sugar, substituted applesauce instead of oil and used egg whites. It was definitely not the same, but still good. I would suggest making the original recipe (with the added chocolate and nuts of course) and adjust from there. I also made a batch with blueberries, cashews and white chocolate chips. You can really add whatever you prefer or have on hand. Such a great recipe to create so many different options!

Enjoy!

Thursday, March 22, 2012

Granola

Hands down, easiest recipe ever! One batch is a perfect fit in these little mason jars, and makes a great homemade gift in about 10 minutes! The challenge is not eating all of the granola while it is cooling! Here is the recipe...
  • 2 T creamy peanut butter
  • 2 T honey
  • 1/4 t vanilla
  • 1/4 t cinnamon
  • 1 cup quick cooking oats

1. Place honey and peanut butter in microwave safe bowl. Microwave about 20 seconds until melted and able to stir.
2. Add in vanilla and cinnamon.
3. Mix in oats. I added a handful of coconut to mine, but you can add any other mix ins here.
4. Bake at 350 about 7-8 minutes.
5. Burn your mouth eating beautiful oat clusters
6. Let cool completely.

{T= tablespoon, t= teaspoon}


Recipe compliments of pbfingers.com
Enjoy!

Wednesday, March 7, 2012

The New York Times Cookie

I have seen lots of rave over this chocolate chip cookie that the NY Times claims to be the number one cookie out there. I am always up for trying new ways to create great classics, such as the chocolate chip cookie. This cookie does take some planning and a few ingredients that I did not have on hand.  In the end I will say- it was worth it! Hope you enjoy!

New York Times Chocolate Chip Cookies

Ingredients

2 cups minus 2 tablespoons cake flour
1 2/3 cups bread flour
1 1/4 teaspoons baking soda
1 1/2 teaspoons baking powder
1 1/2 teaspoons coarse salt
2 1/2 sticks (1 1/4 cups) unsalted butter
1 1/4 cups light brown sugar
1 cup plus 2 tablespoons granulated sugar
2 large eggs
2 teaspoons pure vanilla extract
1 1/4 pounds bittersweet disks or fèves, at least 60 percent cacao content- (I never found these so I just used semi-sweet chocolate chips)

Directions

1. Sift flours, baking soda, baking powder and salt into a bowl. Set aside.
2. Using a mixer fitted with paddle attachment, cream butter and sugars together until very light, about 5 minutes. Add eggs, one at a time, mixing well after each addition. Stir in the vanilla. Reduce speed to low, add dry ingredients and mix until just combined, 5 to 10 seconds. Drop chocolate pieces in and incorporate them without breaking them. Press plastic wrap against dough and refrigerate for 24 to 36 hours. Dough may be used in batches, and can be refrigerated for up to 72 hours.
3. When ready to bake, preheat oven to 350 degrees. Line a baking sheet with parchment paper or a nonstick baking mat. Set aside.
4. Place large golf ball sized cookie dough balls onto baking sheet, making sure to turn horizontally any chocolate pieces that are poking up; it will make for a more attractive cookie. Bake until slightly golden 18-20 minutes.


Tuesday, February 7, 2012

Diet Killers


This week has been a week full of changes and hard work. Robert brought home our newest family member today, Nim.
Nim is a explosive detection dog that Robert has been training with for the past five weeks. The program is through the vet school at Auburn University. He and Nim will graduate on March 16 and begin working with the PCPD.  Robert has not only put in a lot of studying and hard work with Nim while in training at Auburn, he has also been getting our house ready for her to come and live with us. He has spent the past two weekends constructing a kennel for her in our backyard. I was very impressed with the way everything turned out. Special thanks to Big Bob (Robert's dad) for spending his entire Saturday helping build the masterpiece.
So, maybe I promised to help a little more over the weekend. I did about 2 hours of manual labor, after which I was pretty sure I was going to die. I decided that my contribution to the project would be best in cookies. That's where the diet killers come in. Robert named these cookies diet killers, for obvious reasons. Here is the recipe..

Ingredients
  • 1 cup butter- softened
  • 1 cup white sugar
  • 1 cup pack brown sugar
  • 1 cup creamy peanut butter
  • 2 eggs
  • 1 1/2 cups all purpose flour
  • 1 cup quick cooking oats
  • 1 tsp baking powder
  • 1 tsp salt
  • 1/2 tsp baking soda
  • 1 cup semi-sweet chocolate chips
  • 1 cup chopped peanuts
  • 1 cup flaked coconut
Directions

1. Cream together butter and sugars
2. Beat in Peanut Butter
3. Add eggs one at a time

4. In a separate bowl, combine flour, oats, baking powder, salt, and baking soda. Gradually add to creamed mix.
5. Stir in chocolate chips, coconut and chopped peanuts
Try not to eat all of the cookie dough...
6. Drop onto greased cookie sheet, or Silpat, and bake 12-14 min at 350 degrees F

Valentine's day is coming very soon! What better way to say "I love you" than with homemade cookies?

 Diet Killers = Happy Husband.


Saturday, January 28, 2012

Teriyaki Baked Chicken

This weekend we visited the GA Aquarium in Atlanta. My parents were sweet enough to treat us to an amazing double date day which started off with breakfast IHOP and then the trip to Atlanta to see some fish!

Robert and I with my sweet parents
 Seahorse Love
 Lion fish- I can't help but think of Deuce Bigalow...
We went to Ruth Chris Steakhouse after our Aquarium visit which was such a treat! I have heard such great things about Ruth Chris- with the exception of the prices! It was a great experience, but we definitely won't be regulars! Robert got the filet, along with my dad. My mom got the stuffed chicken. I felt it was only appropriate to get some fish after our day, so I got the salmon. Probably the best salmon I have ever eaten! It was huge and I got excited when it came out thinking I would have leftovers. Well, let's just say that didn't happen. 

So back to the reason for today's post. I wanted to thank my parents for such a great time. I decided to cook them dinner- who doesn't love to come home and not have to cook right? I found this recipe for Teriyaki Chicken and it sounded really good so I decided to give it a shot. I tried to take pictures as I cooked this time which is easier said than done. I kept forgetting to take pictures of steps...or worse spilling soy sauce everywhere trying to get a "action" shot of me pouring it into the saucepan. Embarrassing. Especially since I already was a little short on soy sauce and half of it sizzled away on my stove top...

Ingredients
  • 2 T cornstarch
  • 2 T cold water
  • 1/4 cup white sugar
  • 1/2 cup brown sugar
  • 1 cup soy sauce (or lite soy sauce)
  • 1/2 cup cider vinegar
  • 2 cloves garlic- minced
  • 1 t ground ginger
  • 1/2 t ground black pepper
  • 1 can pineapple chunks
  • 3-4 boneless skinless chicken breast
Directions
  1. Preheat oven to 425 degrees F
  2. In small saucepan over low heat combine cornstarch, water, sugars, soy sauce, cider vinegar, garlic, ginger, and pepper.                                                                                                                              
  3. Let simmer stirring frequently until sauce thickens and bubbles.
  4. Place chicken and pineapple chunks in greased 9 x 13 oven safe dish.
  5. Coat chicken and pineapple with prepared teriyaki sauce.
6. Bake in preheated oven 30-45 minutes until no longer pink and juices run clear.
*Recipe compliments of Allrecipes.com

I am a big dummy and forgot to take a picture after it was done baking. I know that is kind of the point of a baking/cooking blog...the finished product. You will have to use your imagination for this one. Sorry.

And now for something sweet...
If you know me well, or at all for that matter, you know I didn't forget about dessert! This is a great recipe for something sweet and easy that you can actually feel good about. It is still January and I know those resolutions are still going strong at this point...right?

Pineapple Angel Food Bites
*Recipe compliments of that genius girl Melissa

Ingredients
  • 1 box angel food cake mix
  • 1 can crushed pineapple (in pineapple juice)
  • optional- a splash of vanilla extract
Directions
1. In a large bowl mix angel food cake mix and crushed pineapple until moistened. Be careful not to over mix. Add vanilla if desired...I did!
2. Line and grease muffin pan or 9 x 13 baking dish. (either way turns out great)
3. Fill muffin tins 3/4 full and bake according to box instructions. Note: This cookie scoop pictured above is probably the best baking accessory I own. I use it for everything! Cookies, muffins, you name it. It really cuts down on the mess of transferring any type of mix into muffin tins or to make uniform cookies!

Hope everyone has a wonderful week!


Wednesday, January 18, 2012

My Best Friend is a Genius!

For Christmas this year I received a really neat and creative gift from my genius of a best friend, Melissa.

 Chalkboard paper labels
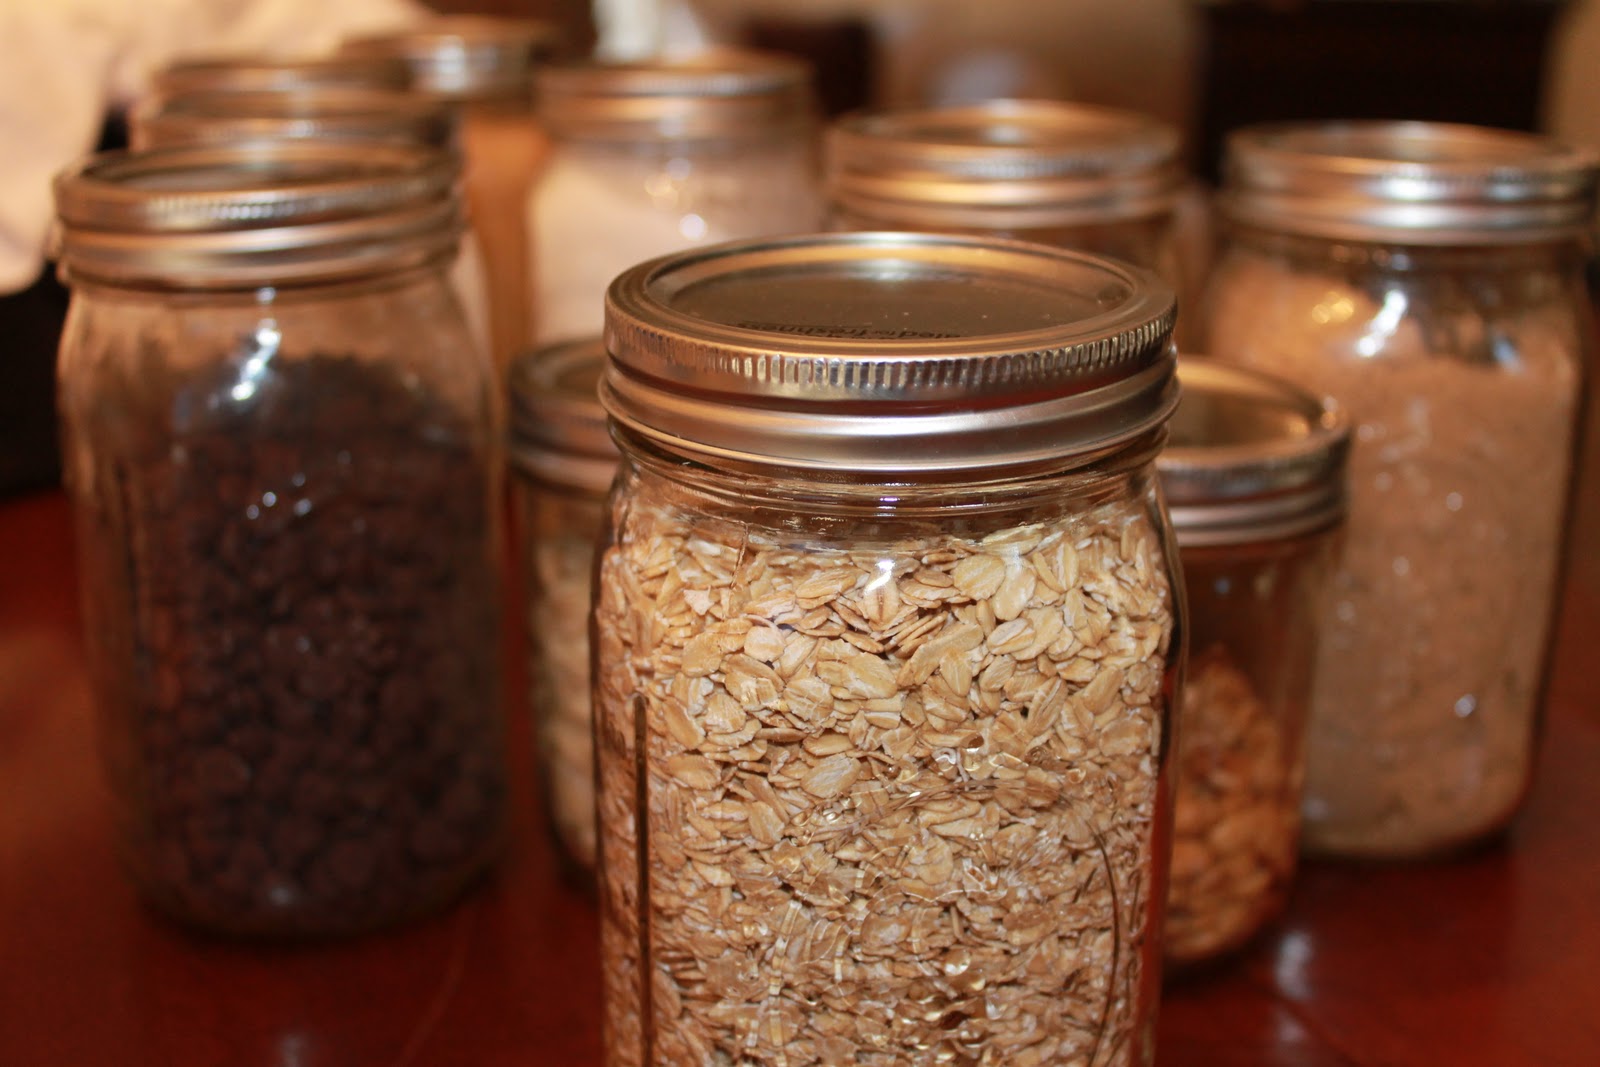
I recently transferred all of my baking ingriedients into mason jars to store in my cabinets so these were perfect. These are my jars before...
I'm not sure why it took me this long to actually put them on the jars-  but it was quick and easy! The hardest part was finding chalk. I guess not many classrooms have chalkboards these days. Here are some pictures-


All tucked away in the cabinet! A quick and easy fix to having rolled up bags of leftover chocolate chips laying around. Thank you Melissa for such a great gift!

Tuesday, January 10, 2012

Football Food

My first post! Whew...I have to say I am a little nervous. I will start by saying that I realize I have poor grammar and bad spelling. So here goes...

The national chamionship game was last night. Robert told me he wanted to throw a football party. My first thought of course was- what to cook? We decided with it being such a late game and questionable turnout, finger foods would suffice.  He requested Rotel Dip, his favorite, which I will spare you any pictures of. It looks like vomit- but the boys love it. I also made pigs in the blanket, which is a crowd pleaser and even with 3 packs of lil' smokies still wasn't near enough. I decided to try to make homemade jalapeno hummus. Publix makes some that I absolutely love. Mine didn't turn out so hot- but I of course ate it anyway and had garlic breath all night long (oops).
 My winner of a recipe for the night was dessert- imagine that! I decided to try a recipe from Pinterest called

Pretzel Peanut Butter Bites.

{recipe courtesy of Foodaphilia}

Ingredients
1 cup creamy peanut butter
2 tbsp softened butter
1/2 cup powdered sugar {maybe more}
3/4 cup brown sugar
Pretzels
1 bag  semi-sweet chocolate chips

Directions
Combine peanut butter and softened butter in a large bowl with a fork or whisk, or in a stand mixer.  Add the sugars and mix to combine.  At this point if the filling will roll easily into balls without sticking to your hands you’re ready to go.  If not, add a little more of each sugar until you reach a consistency that is easy to roll. I needed more powdered sugar to make them a little less sticky.

Roll each portion into a small ball, then sandwich them between two whole pretzels.  When all the balls are rolled and successfully sandwiched, stick the whole tray in the freezer for about half an hour.

Pour the chocolate chips into a microwave safe bowl and heat at 30-second intervals, stirring occasionally until completely melted.  Remove the pretzel sandwiches from the freezer and quickly dip each half-way into the melted chocolate.  Return to the tray and repeat with remaining sandwiches.  When all are dipped- place in regrigerator to set.

These were a hit. It's hard to go wrong with a sweet and salty mix. Even my innocent, underfed, attention-starved beagle decided to have a few when everyone walked outside at half-time. Imagine that...